I’ll be honest—my first vintage wool sweater purchase was a disaster. I found this gorgeous cream-colored cashmere-blend cardigan at a Goodwill for $8. It had a tiny hole near the elbow, but I thought, “No big deal, I’ll fix it.” I tossed it in the washing machine on delicate, and it came out the size of a toddler’s sweater. I learned the hard way that **vintage wool maintenance** isn’t optional—it’s essential if you want your thrifted finds to last more than one season.
Vintage wool pieces are some of the best things you can score secondhand. They’re often better quality than anything you’d buy new today, with natural fibers that can last decades if treated right. But they also require a little more TLC than modern synthetics. In this guide, I’ll walk you through everything I’ve learned (sometimes painfully) about **vintage wool maintenance**—from washing to storing to dealing with those dreaded moth holes. Whether you’re a seasoned thrifter or just picked up your first wool coat, these tips will help you keep your treasures looking their best.
Why Bother with Vintage Wool Maintenance?
You might be thinking, “It’s just a sweater—why can’t I throw it in the wash like everything else?” The thing is, vintage wool is different from most modern knitwear. Older garments are often made from pure wool or high-percentage blends that haven’t been treated with shrink-resistant finishes. That means they’re more prone to felting (when the fibers mat together and the garment shrinks) if you use heat or agitation. Plus, vintage fibers can be more delicate—they’ve already lived a life, and they need a gentle touch to keep going.
Proper **vintage wool maintenance** also saves you money. Let’s say you find a beautiful Pendleton wool skirt at a thrift store for $12. If you wash it wrong, it’s ruined—and you’re out $12 plus the disappointment. But if you care for it well, that skirt could last you another decade. That’s the kind of return on investment I love. And honestly, it’s better for the planet, too. The most sustainable garment is the one you already own (or bought secondhand) and actually wear.
How to Wash Vintage Wool Without Ruining It
Okay, let’s get into the nitty-gritty. Washing vintage wool is where most people mess up. Here’s the method I’ve settled on after some trial and error (and a few shrunken sweaters).
Step 1: Check the Tag—But Don’t Trust It Completely
Vintage care labels are often missing, faded, or simply outdated. If the tag says “dry clean only,” that’s a good starting point, but many vintage wools can actually be hand-washed safely. If the tag says “machine wash,” I’d still hand-wash to be safe. My rule: when in doubt, hand-wash in cold water with a gentle wool wash like Eucalan (no rinsing needed) or a mild shampoo.
Step 2: Hand-Wash with Cold Water
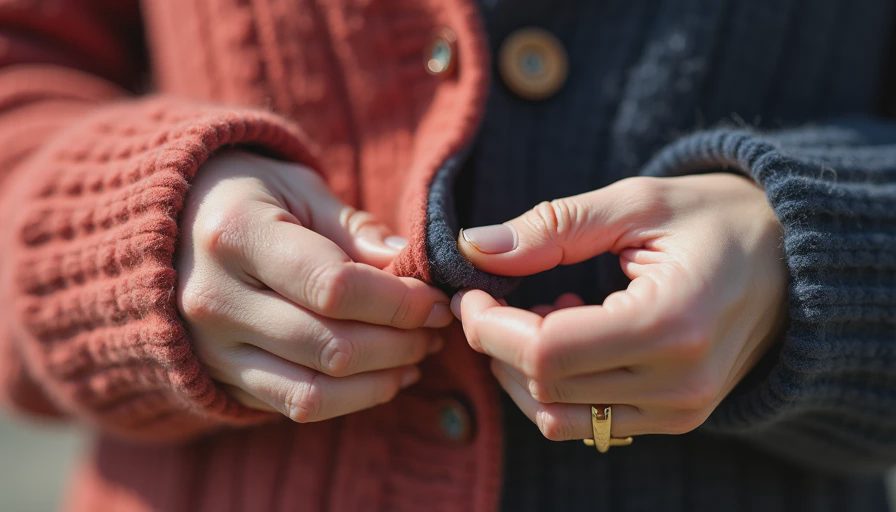
Fill a sink or basin with cool water—never hot. Add a capful of wool wash. Submerge the garment and gently press it under the water. Don’t rub or wring! Let it soak for about 15–30 minutes. For stains, you can gently work the soap into the spot with your fingers.
Step 3: Rinse and Remove Water Properly
Drain the soapy water and fill with fresh cool water to rinse. Press the sweater against the side of the sink to remove excess water—again, no wringing. Then roll it up in a clean towel to absorb even more moisture. Lay flat to dry on a drying rack or a towel. Never hang wool when it’s wet—the weight will stretch it out of shape.
I know hand-washing sounds fussy, but it takes maybe 10 minutes of active time. And it’s way better than losing a $10 thrift find to the shrinking monster. Plus, you only need to wash wool a few times a season—airing it out between wears is usually enough.
Drying and Storage: The Unsung Heroes of Vintage Wool Maintenance
Once your wool is clean, how you dry and store it matters just as much as the washing. If you’ve ever pulled a sweater out of storage and found it moth-eaten, you know what I’m talking about.
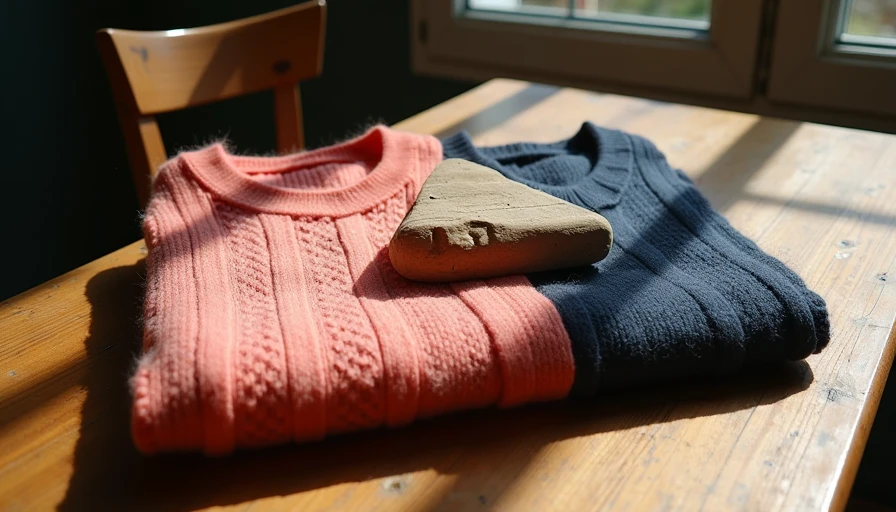
Drying: Always Flat, Never Hanging
I’ve ruined a perfectly good sweater by draping it over a chair to dry—the weight created a weird bump in the shoulder. Lay your wool pieces flat on a clean towel or a mesh drying rack. Reshape them gently while they’re damp. For sweaters, that means smoothing out the hem and sleeves so they dry in the right proportions. For coats, lay them flat on a clean surface, but you can also use a padded hanger if the coat is structured—but only once it’s completely dry.
Storage: Breathable Bags and Cedar Blocks
Wool is a natural fiber that needs to breathe. Plastic bins can trap moisture and cause mildew or attract moths. Instead, use breathable garment bags (cotton or muslin) for hanging items, or store folded sweaters in cardboard boxes or fabric bins. For long-term storage, add cedar blocks or lavender sachets—moths hate the smell. I keep a few cedar rings in my closet and swap them out every few months when the scent fades.
**Pro tip:** Never store wool in attics or basements where temperature and humidity fluctuate wildly. A consistent, cool, dry space is ideal. And before you pack away your winter woolens for the summer, make sure they are freshly washed and completely dry—moths love dirty wool.
Dealing with Pilling and Moth Damage
Even with perfect care, vintage wool can develop pills (those little fuzz balls) or the occasional moth hole. Don’t panic—both are fixable with a little patience.
Pilling: Use a Fabric Shaver
Pills are just loose fibers that ball up on the surface. A fabric shaver (I have one from Gleener that cost about $15) can gently remove them without damaging the fabric. Lay the garment flat and go over the pilled areas in one direction. It’s almost like giving your sweater a haircut. Avoid using a razor blade—too risky for vintage fibers.
Moth Holes: Invisible Mending
For small holes, you can try “invisible mending” by taking a matching thread and weaving it across the hole. This is a skill I’m still learning, but there are great YouTube tutorials (I like Catherine Sews’ video on darning basics). If the hole is in a visible spot and you’re not confident, consider adding a decorative patch or embroidery to cover it. I once turned a moth hole in a navy blazer into a tiny star stitch—it became a conversation piece.
For more serious moth damage, you might want to take the piece to a tailor. It’s usually worth it for high-quality pieces—I paid $25 to have a hole in a vintage wool coat repaired, and the coat has lasted me three more winters. That’s $25 well spent.
My Favorite Vintage Wool Maintenance Tools (That Won’t Break the Bank)
You don’t need fancy equipment to keep your wool looking great. Here’s my starter kit:
- **Wool wash:** Eucalan or Soak—both are no-rinse and smell lovely. About $10–15 for a bottle that lasts a year.
- **Fabric shaver:** Gleener or a generic one from Amazon—around $15.
- **Cedar blocks:** A pack of 10 costs about $12 on Amazon. Also, lavender sachets from the craft store are cheap and smell great.
- **Breathable garment bags:** I got a three-pack of cotton wardrobe bags for $20 on Etsy.
- **Darning needle and thread:** For emergency fixes—less than $5.
Total cost for all the tools: under $70. Compare that to replacing a shrunken cashmere sweater, and it’s a no-brainer.
Wrapping It Up: Vintage Wool Maintenance Is Worth the Effort
I’m not going to pretend I’ve never screwed up. I’ve shrunk things, I’ve had moths eat a favorite scarf, and I’ve even accidentally felted a wool blanket into something resembling a bath mat. But every mistake taught me something about **vintage wool maintenance**. And the truth is, once you get into the rhythm of hand-washing and proper storage, it stops feeling like a chore and starts feeling like a small act of respect for the garment and the person who wore it before you.
So next time you find a beautiful wool sweater or coat at the thrift store, don’t let the fear of maintenance stop you. Bring it home, give it a gentle wash, and add it to your closet with confidence. You’ll be glad you did—and so will your wallet.


No comments yet — grab the first one.